
Guide for Social Media Managers
This page is intended for social media managers who will be adding content to the social links landing page. It’ll guide you through adding, editing, and deleting content from the social links page.
Navigate to the Social Links Plugin
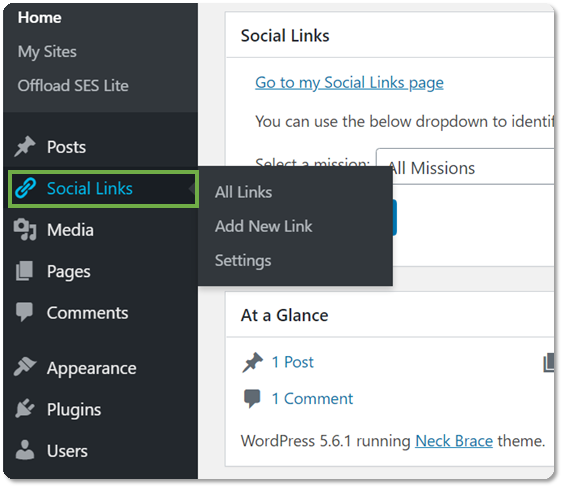
Within your WordPress instance, navigate to the left side menu panel.
Hover over Social Links to view the quick navigation options or click on Social Links to go to the main menu.
Use the Dashboard Widget to Set Preferences
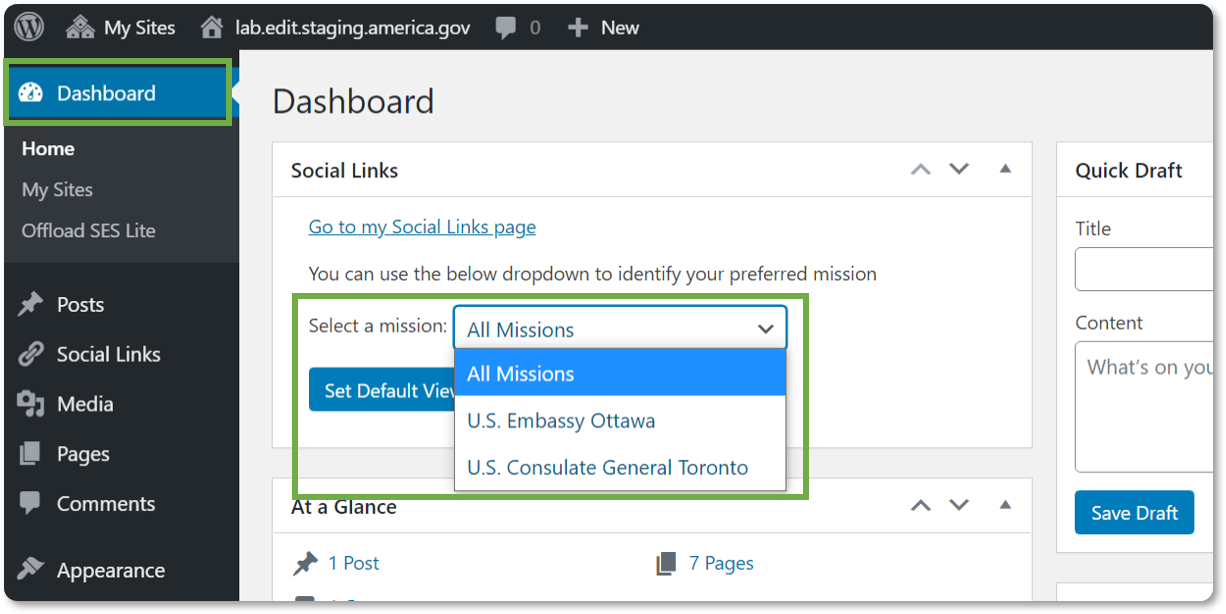
Click Dashboard on the left side menu to navigate to the Social Links dashboard widget.
Select a Mission from the drop-down menu to set a default mission view.
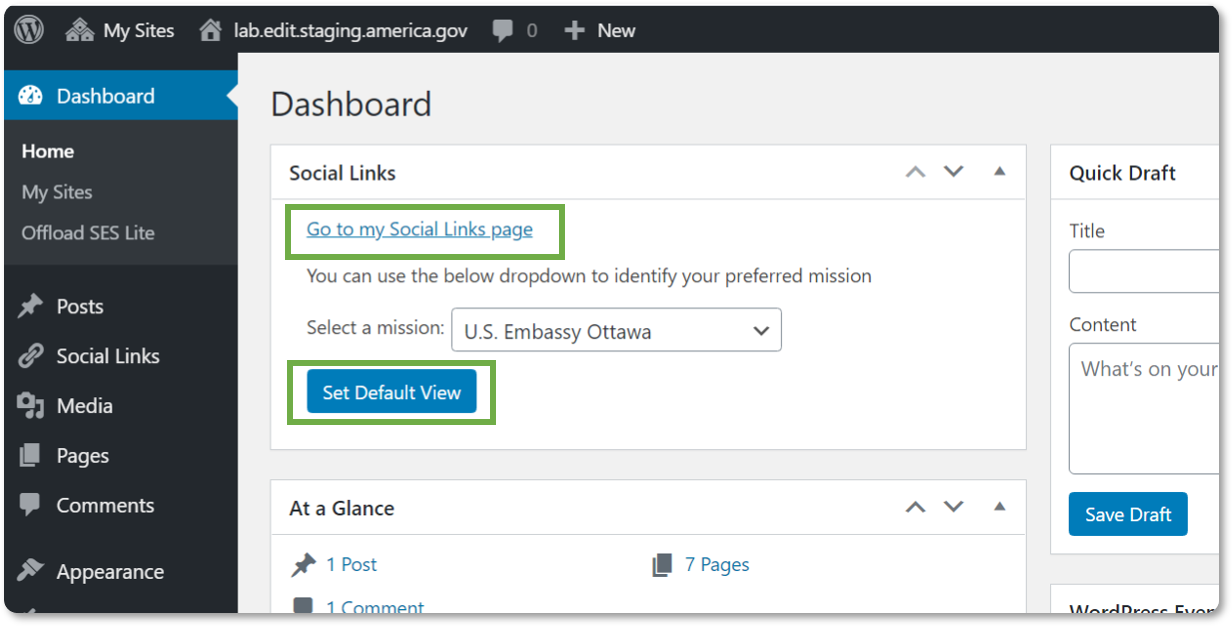
Click the Set Default View button. Your preferences are saved.
Click the Go to my Social Links page link to access your default view.
Note: You will only be able to access the default view through the link in the Social Links dashboard widget.
Create a New Link Post
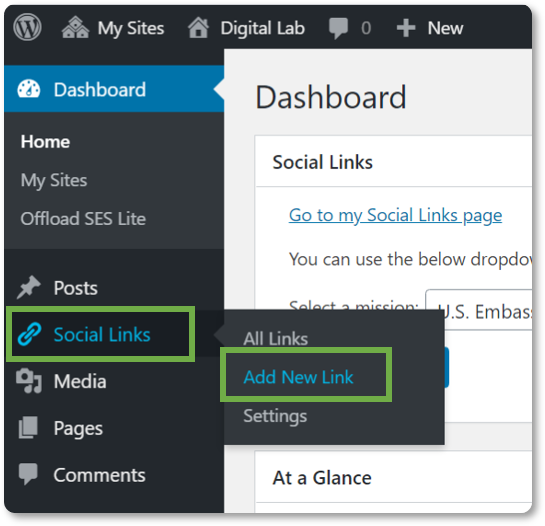
On the left side menu panel, click on Social Links.
Note: To add a new link from the homescreen, hover over the Social Links icon and click the Add New Link menu option.
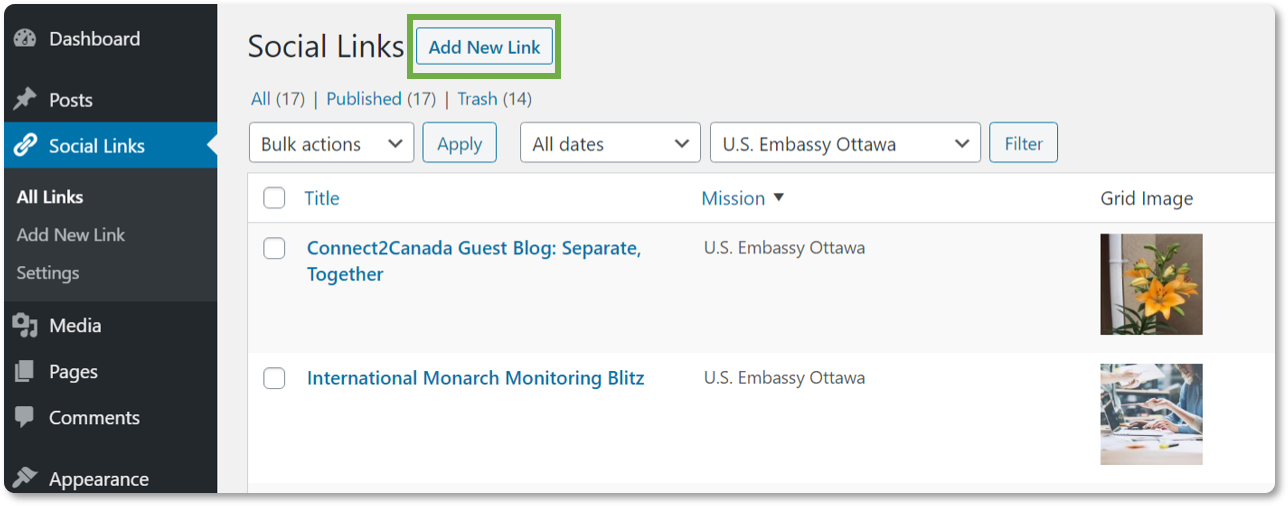
Click the Add New Link button at the top of the page. The Add New Social Link page will appear.
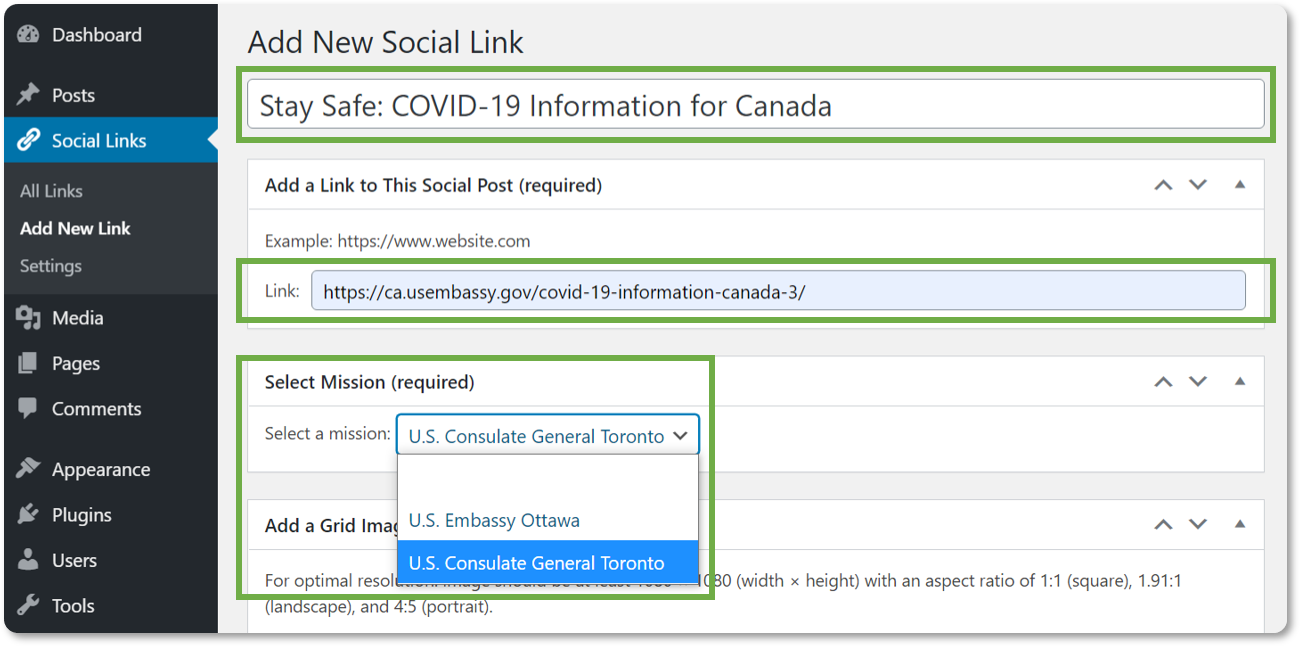
Insert a title for the link in the first box on the page. This is a required field. If the field is not populated, you will receive an error message with instructions. All required fields must be populated in order to publish the post.
Insert the URL in the Add a Link to This Social Post box. This is a required field. If the field is not populated, you will receive an error message with instructions. All required fields must be populated in order to publish the post.
Select a Mission from the drop-down menu in the Select Mission box. This is a required field. If the field is not populated, you will receive an error message with instructions. All required fields must be populated in order to publish the post.
Note: You will still need to make a Mission selection even if there is only one Mission option in the drop-down menu.
If you are using the Vertical List template, skip step 6. If you are using the Three Column Grid template, continue with step 6.
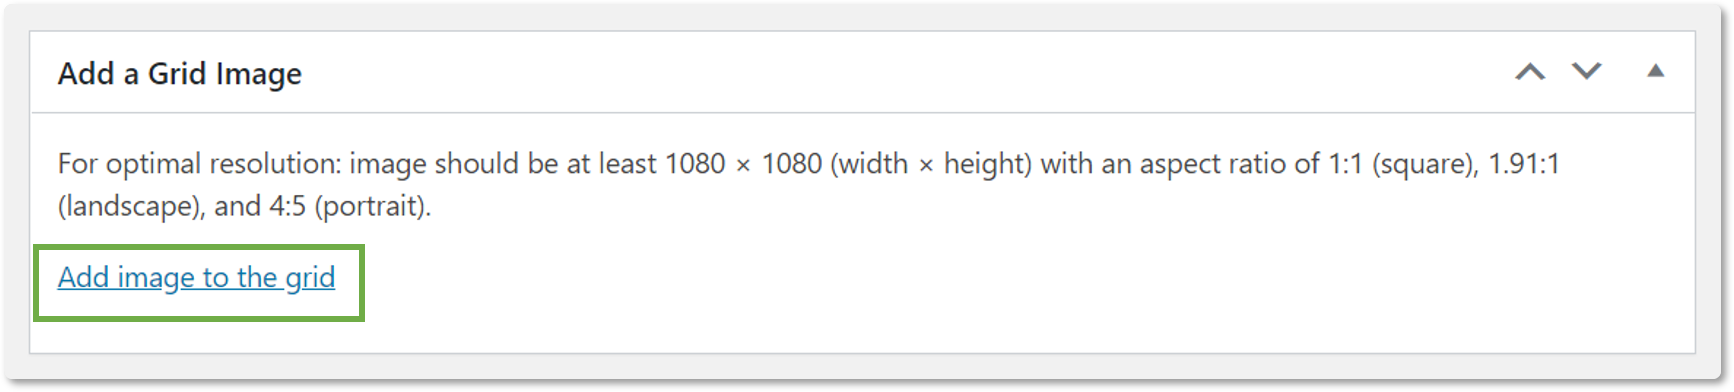
Click the Add an image to the grid link in the Add a Grid Image box. The Media Library pop-up will appear.
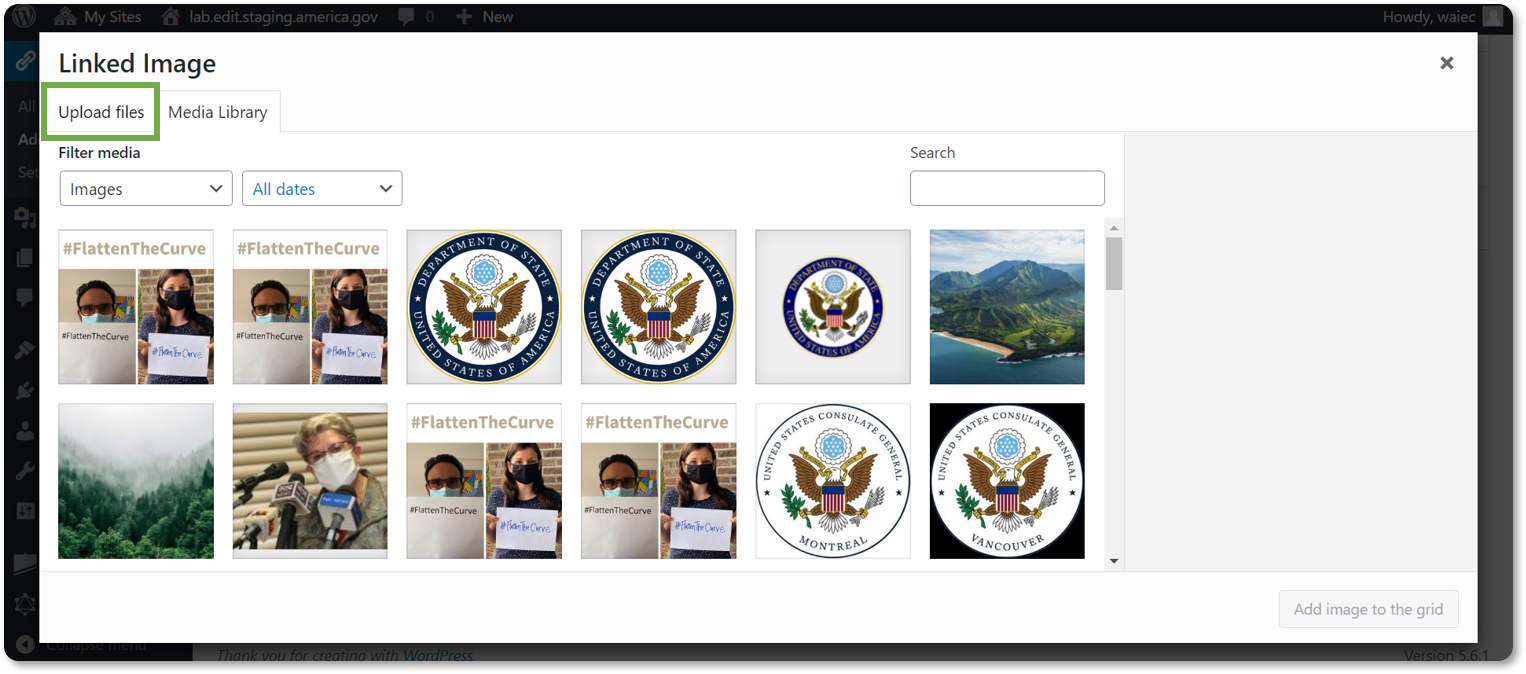
Select a file from the Media Library or click the Upload files tab.
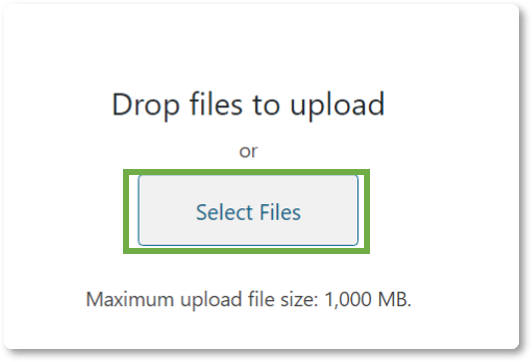
Click the Select Files button to search for an image in your files or drag and drop an image to upload.
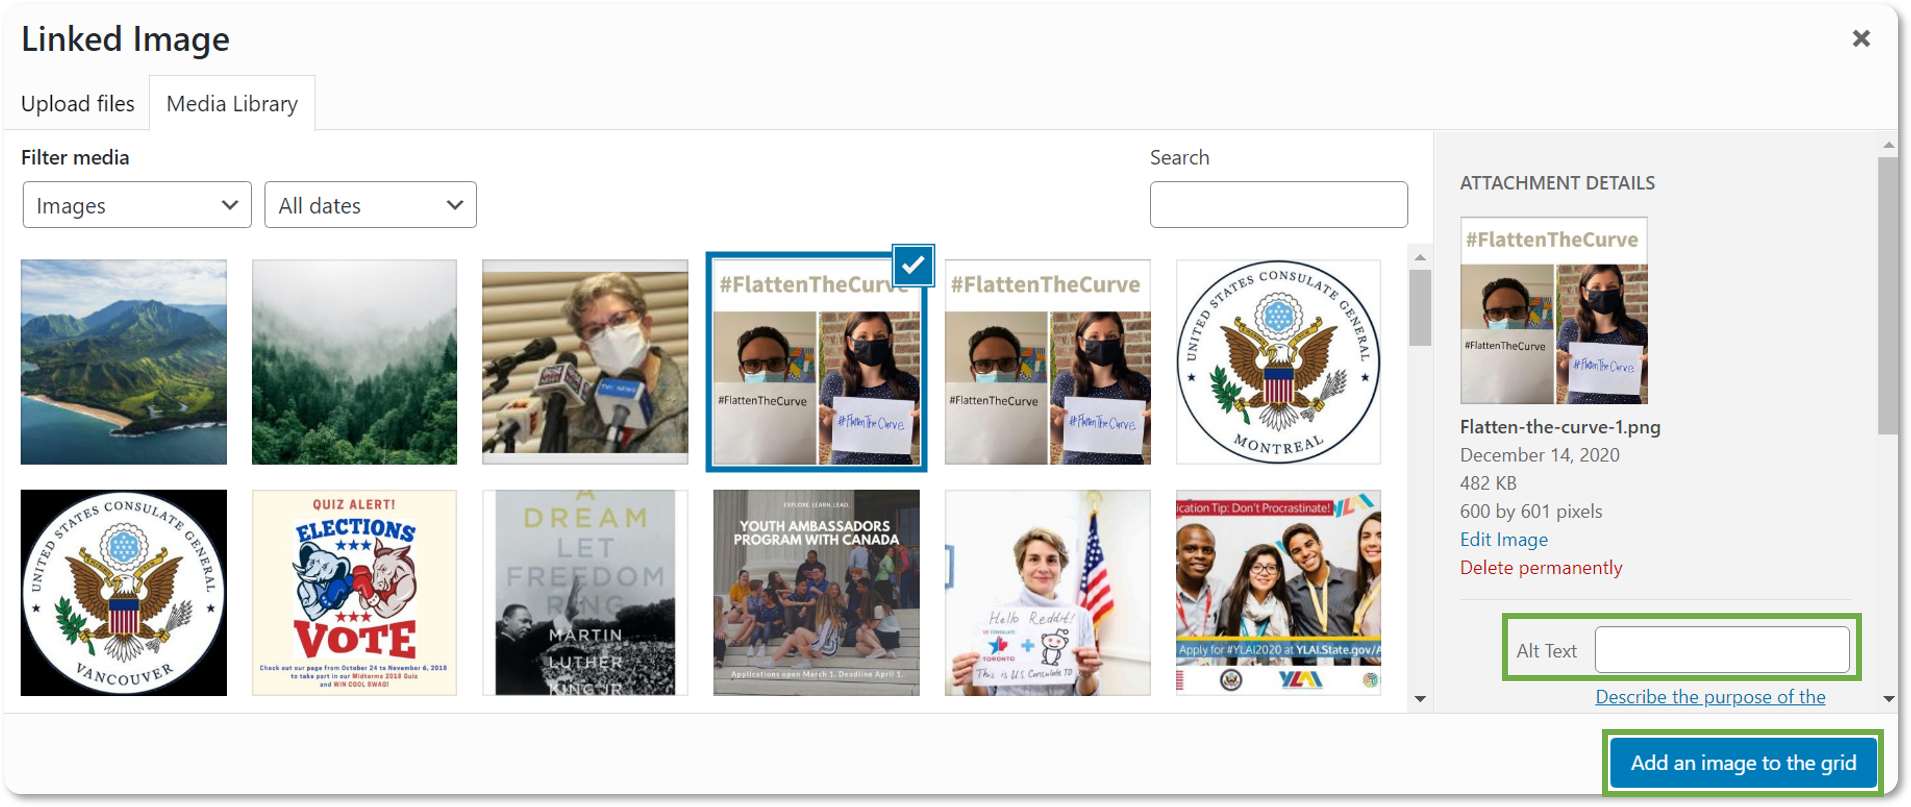
Your image will appear in the Media Library. Select the image. Add alternative text in the Alt Text box for accessibility. Alternative text refers to the invisible description of images which are read aloud to visually impaired users on a screen reader.
Click the Add an image to the grid button. You will be taken back to the Add New Social Link page and the selected image will appear in the Add a Grid Image box.
Note: If you selected the image in error, click the Remove image link.
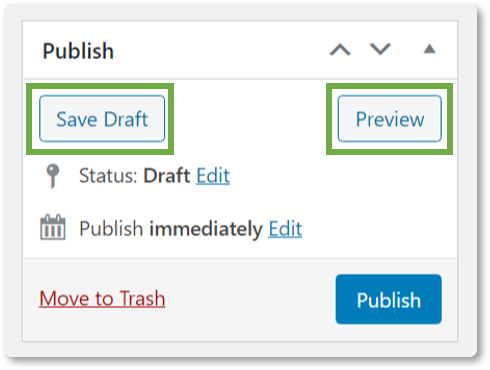
In the Publish box, click the Save Draft button to save the post as a draft or click the Preview button to preview the post on its Social Link page before publishing.
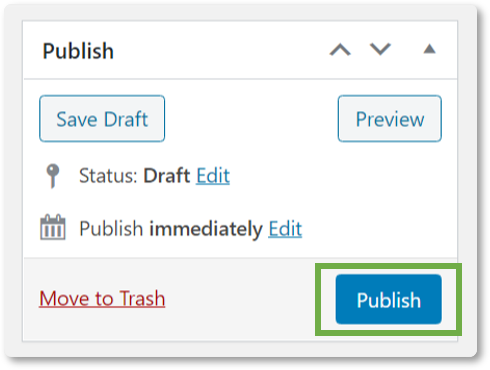
Click the Publish button to publish the post. A message will appear at the top of the screen confirming the post has been published.
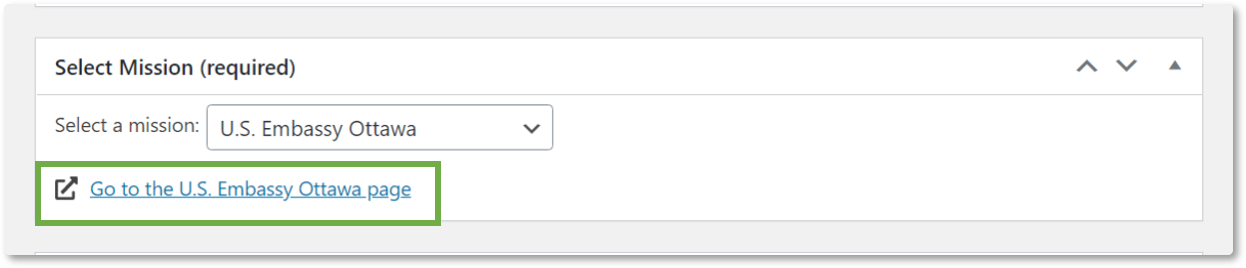
To view the post on the live Social Links page, click the link in the Select Mission (required) box. A new tab will open with the live, external Social Links page.
Note: If you would like to schedule the publish time and date of the post, click on the Edit link for the Publish immediately option and select a date and time. Click the Ok button, then click the Schedule button. The post will be published within 15 minutes after the scheduled time.
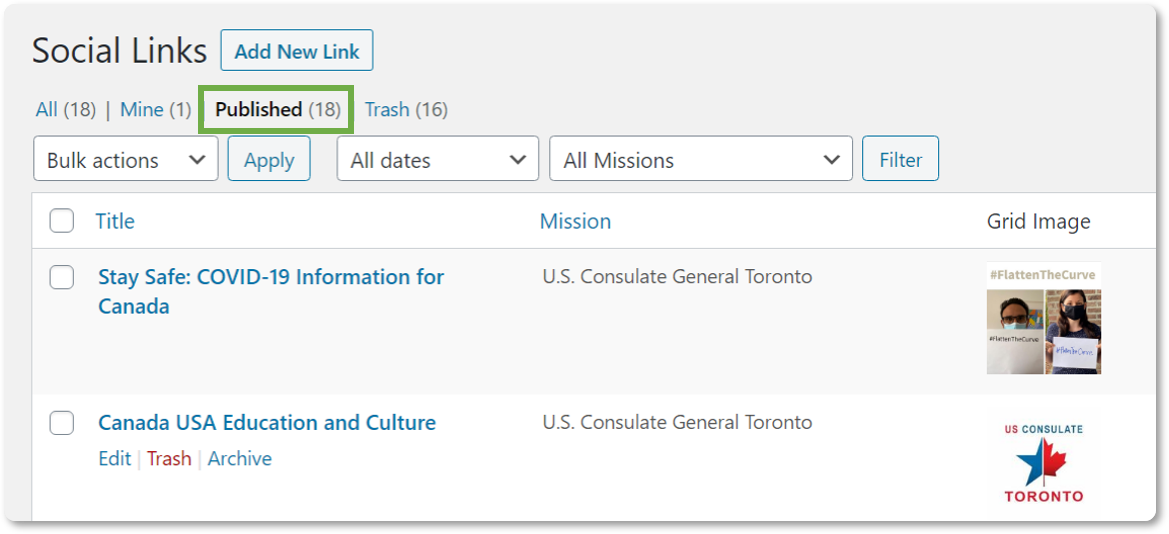
To view published posts, navigate to the Social Links main menu. Click the Published link at the top of the page. A list of the published posts will appear and are sorted by published date. The default All view will also show the published links.
Edit Existing Posts
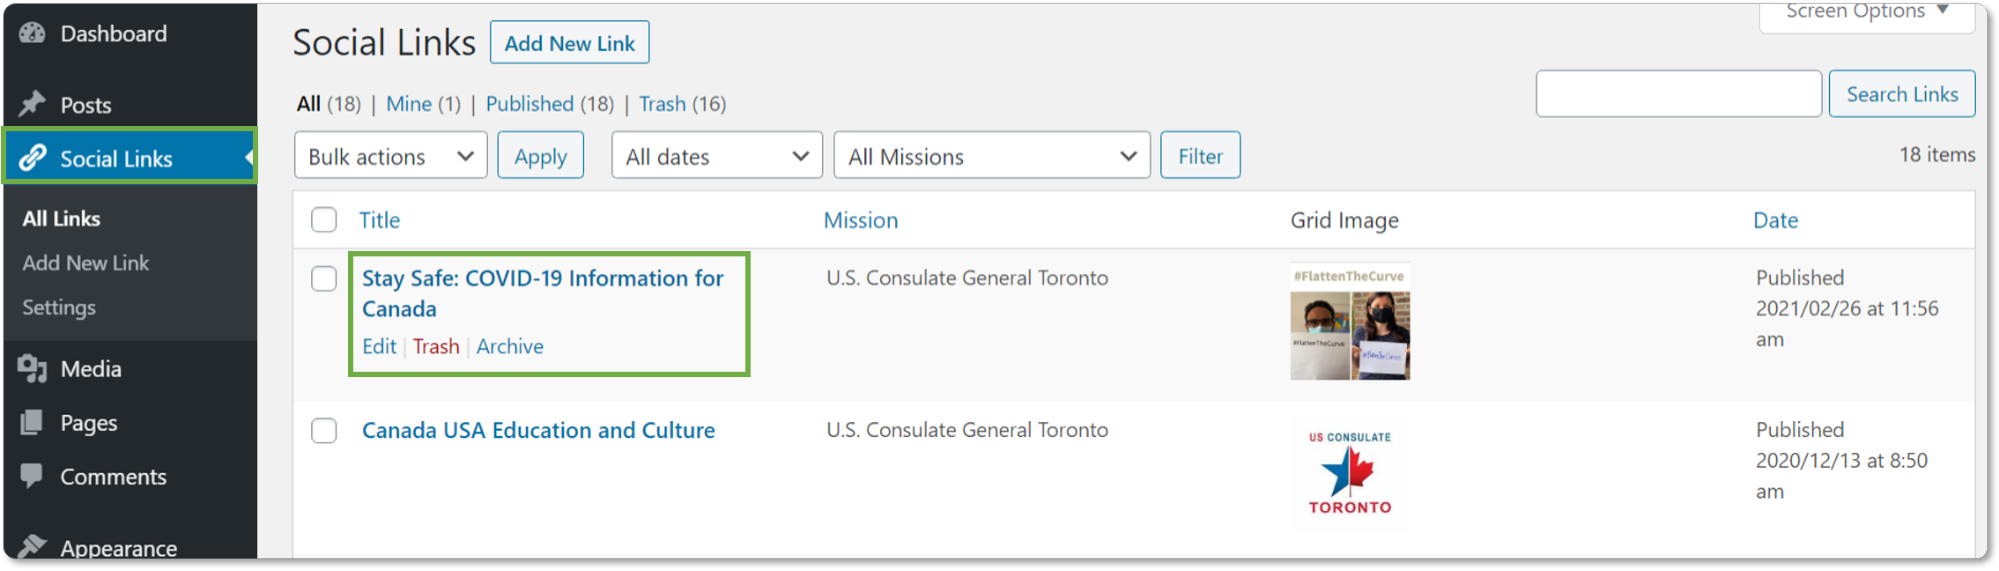
On the left side menu panel, click on Social Links.
Hover over the post that you want to edit. Either click the Edit link or click on the post title and the Edit Social Link page will appear.
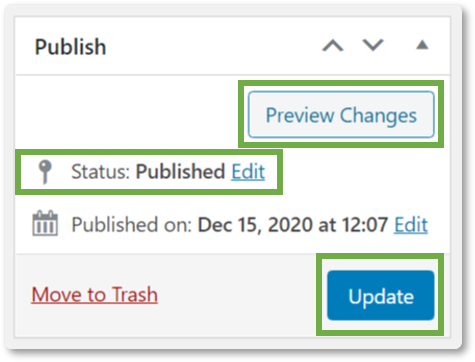
Make the necessary changes. Click the Preview Changes button to preview the post before publishing.
To change the status of the post, click the Edit link and select an option from the drop-down menu. Click the OK button.
Click the Update button to update the post.
Note: If you would like to schedule the publish time and date of the post, click on the Edit link for the Publish immediately option and select a date and time. Click the OK button, then click the Schedule button. The post will be published within 15 minutes after the scheduled time.
Delete Existing Posts
On the left side menu panel, click on Social Links.
Hover over the post that you want to delete. Click the red Trash link to move the post to the trash. A notification will appear at the top of the page that reads: 1 post moved to the Trash.
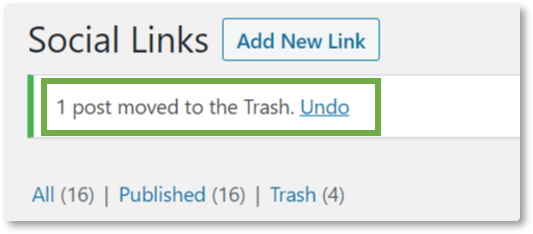
Note: If you moved something to the trash in error, you can click the Undo link to restore the post.
Delete Posts Permanently or Restore Deleted Posts

On the left side menu panel, click on Social Links.
Click on the Trash link at the top of the page.
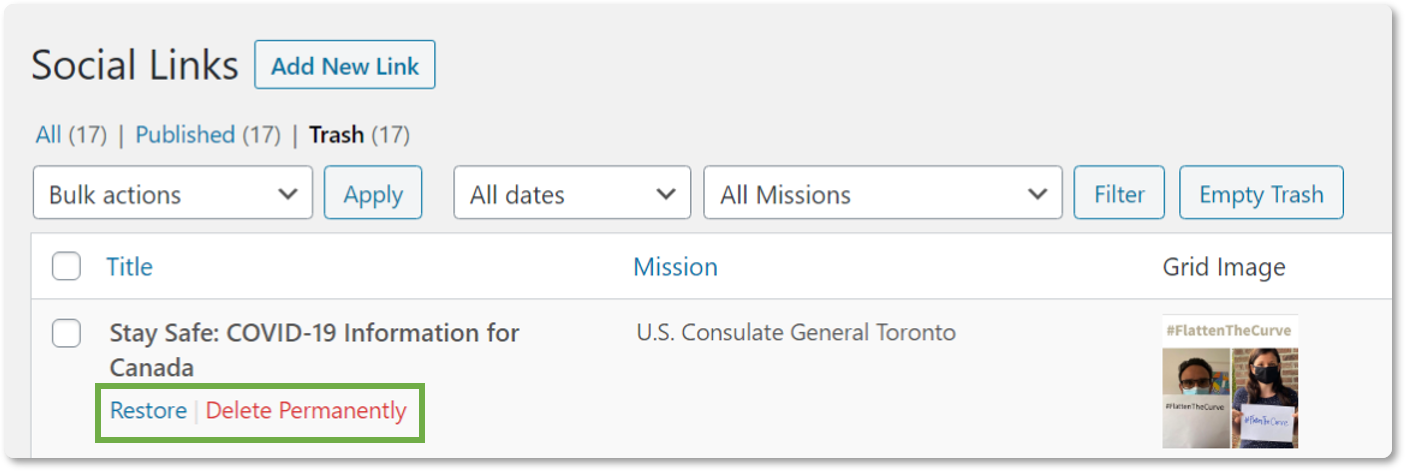
Hover over the post that you want to restore or delete permanently with your mouse. Click on the Restore link to restore the post. Click on the Delete Permanently link to permanently delete the post (this cannot be undone).
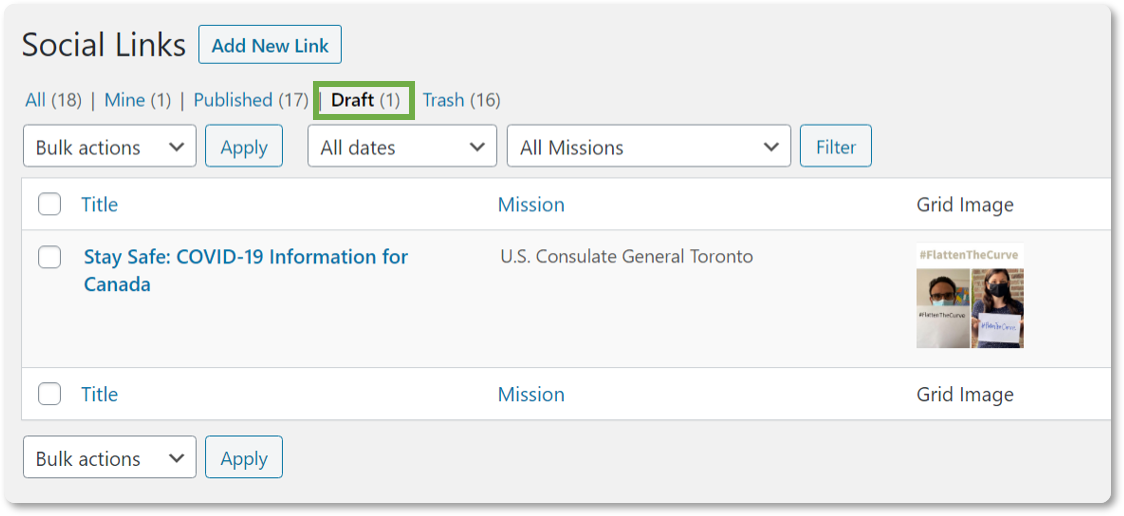
If you chose to restore the post, it will now appear in the Draft list. Click on the Draft link at the top of the page to view the list of draft posts.
Archive and Unarchive Posts
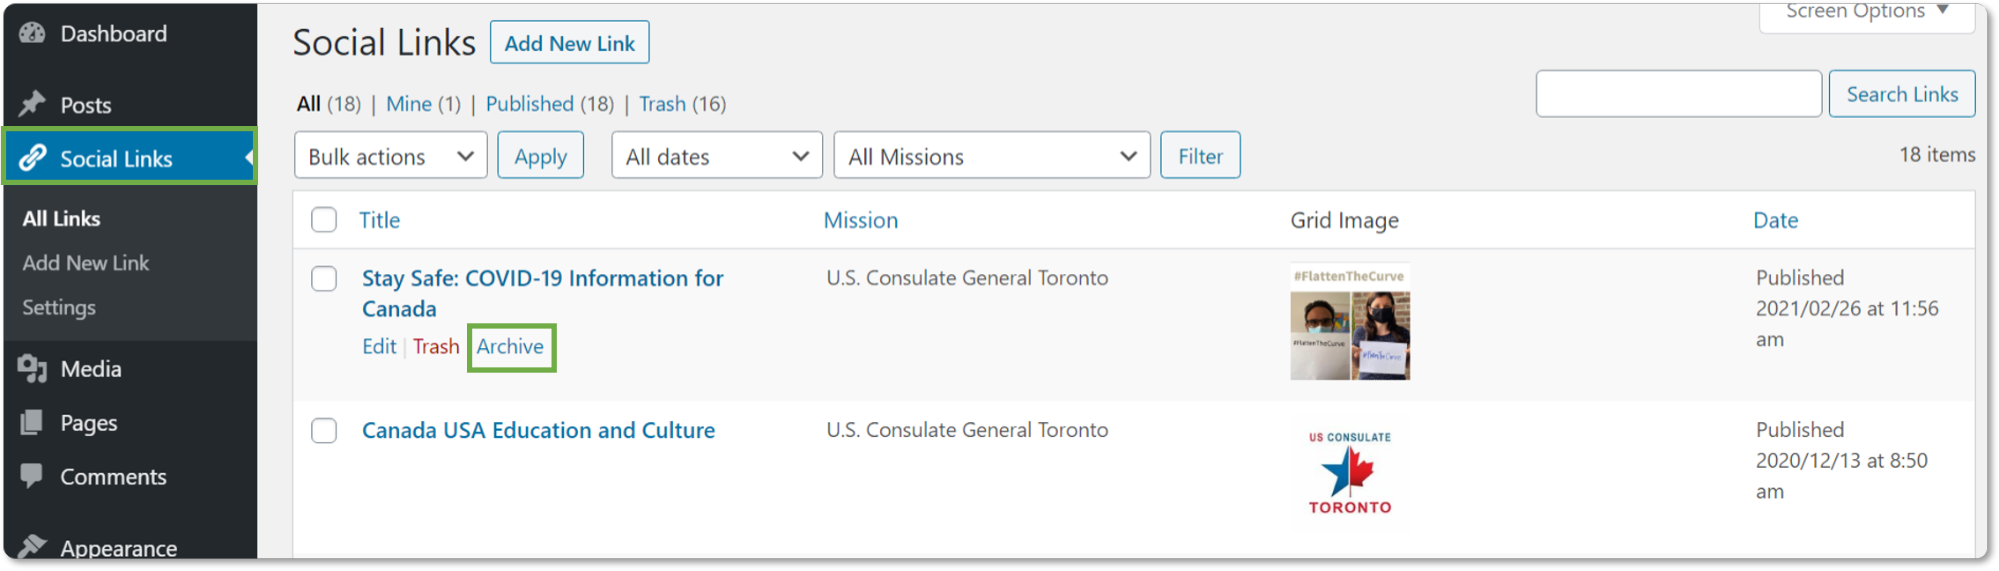
On the left side menu panel, click on Social Links.
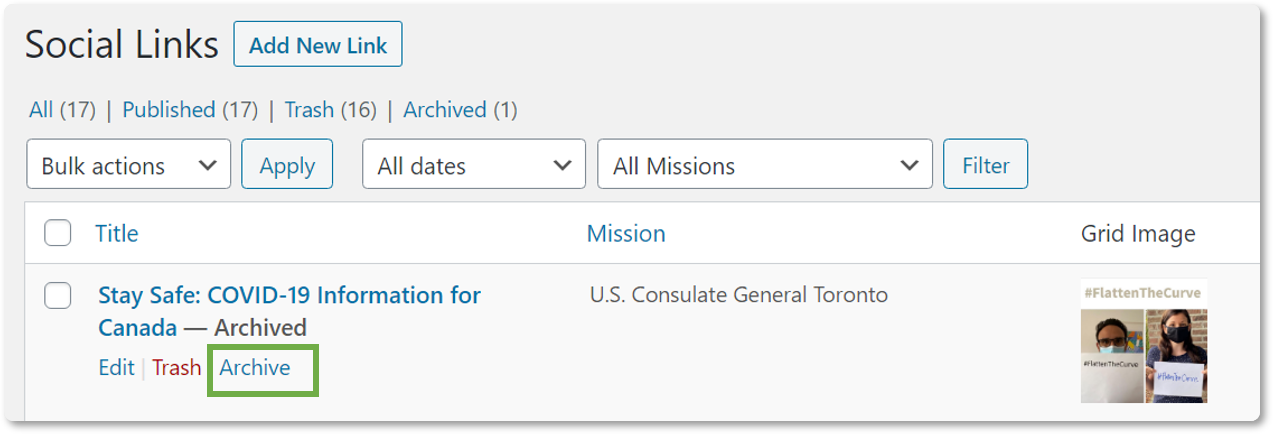
Hover over the post title that you want to archive. Click the Archive link. The title of the post will now have the word Archived at the end of it.
To unarchive the post, click the Edit link. The Edit Social Links page will appear.
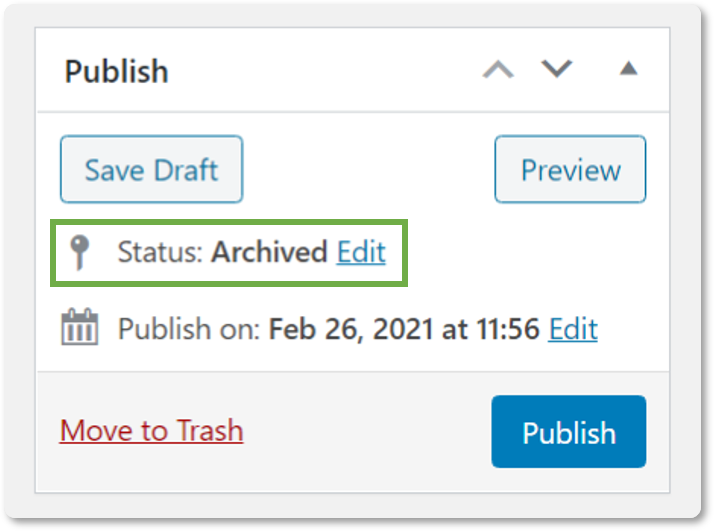
In the Publish box, click the Edit link to change the status.
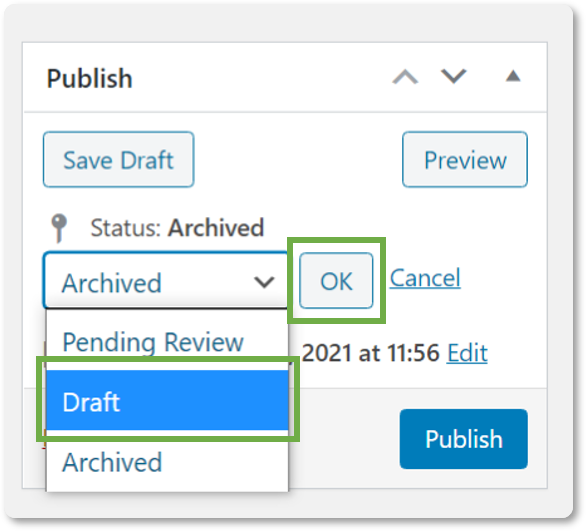
Select Draft from the drop-down menu and click the OK button.
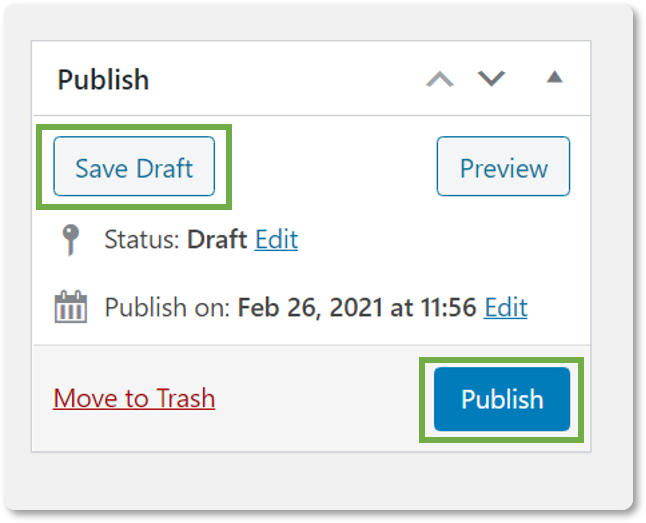
Click the Save Draft button to unarchive the post and save as a draft or click the Publish button to publish the post.
View Posts in Draft, Published, Archived Status
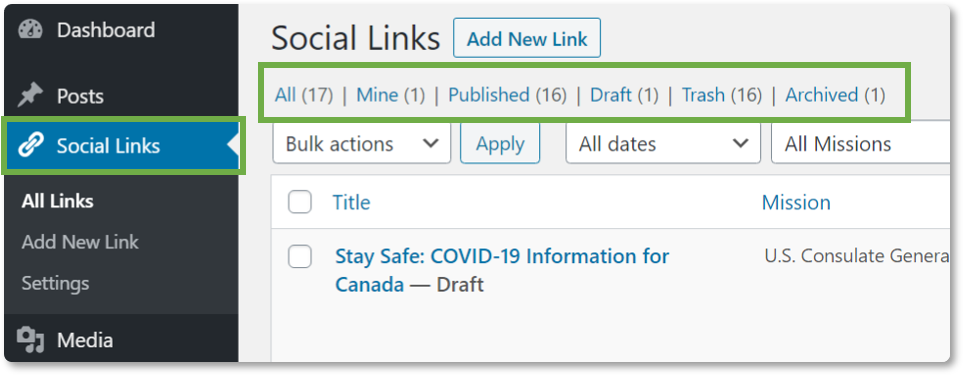
On the left side menu panel, click on Social Links.
Click on the Published, Draft, or Archived links at the top of the page to view the respective posts within each status.
Note: You can click on the Mine link to view posts that you created. Click on the All link to view all Social Link posts. Click on the Trash link to view posts that are in the trash.
Filter Posts
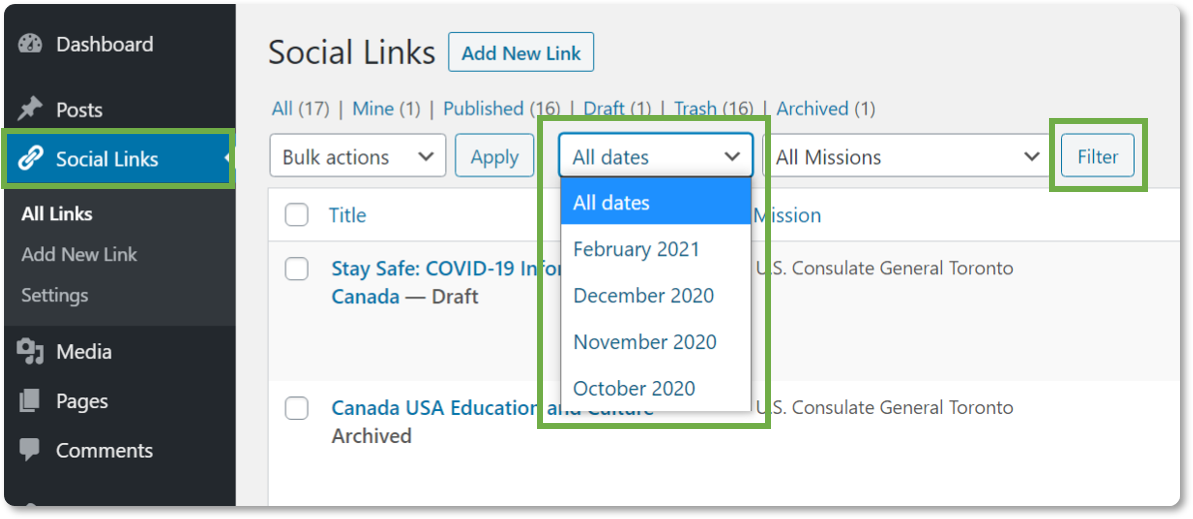
On the left side menu panel, click on Social Links.
To filter by date, click on the All dates drop-down menu and select a month. Click the Filter button.
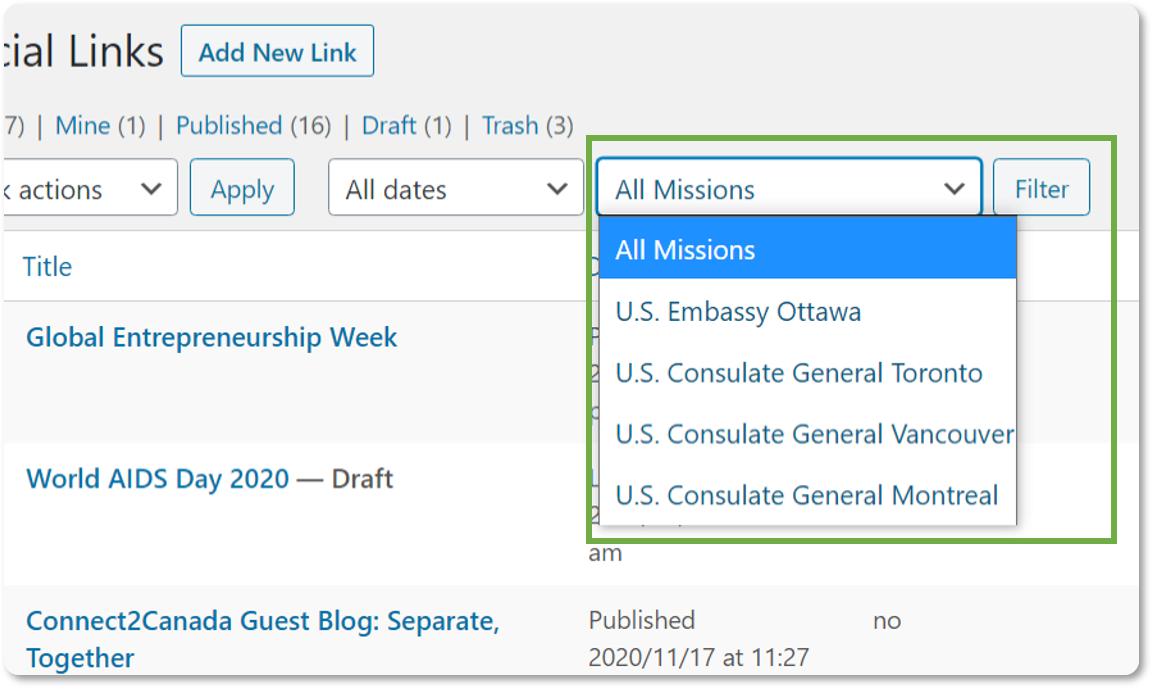
To filter by Mission, click on the All Missions drop-down menu and select a Mission. Click the Filter button.
Perform Bulk Actions
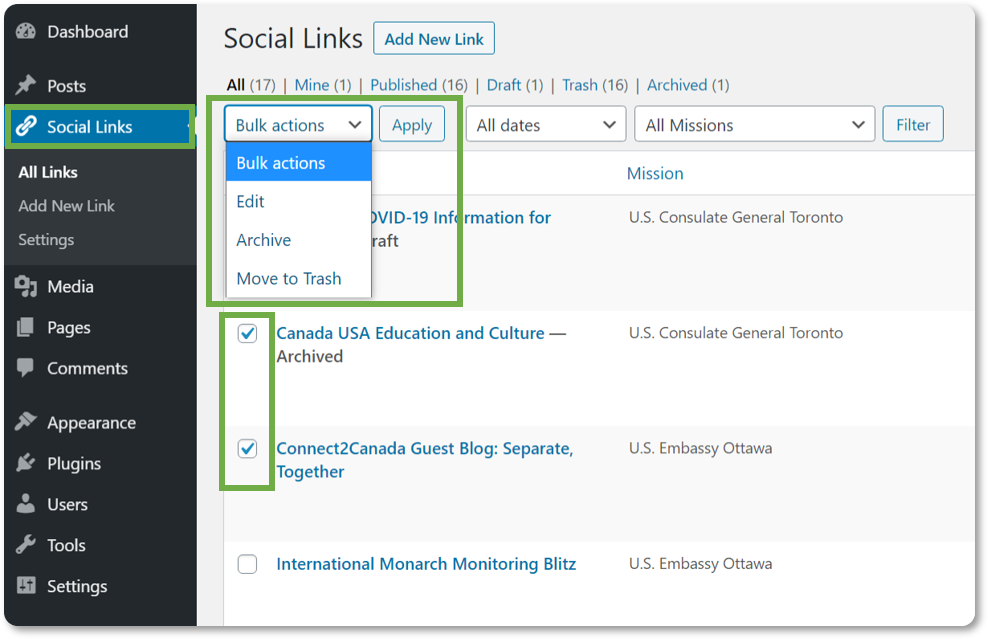
On the left side menu panel, click on Social Links.
Check the checkbox next to the posts that you want to be included in the bulk action.
Click on the Bulk actions drop-down menu and select a bulk action.
Click the Apply button.